%20(1).webp?width=80&height=58&name=2%20(4)%20(1).webp)
How to Create a Website Page?
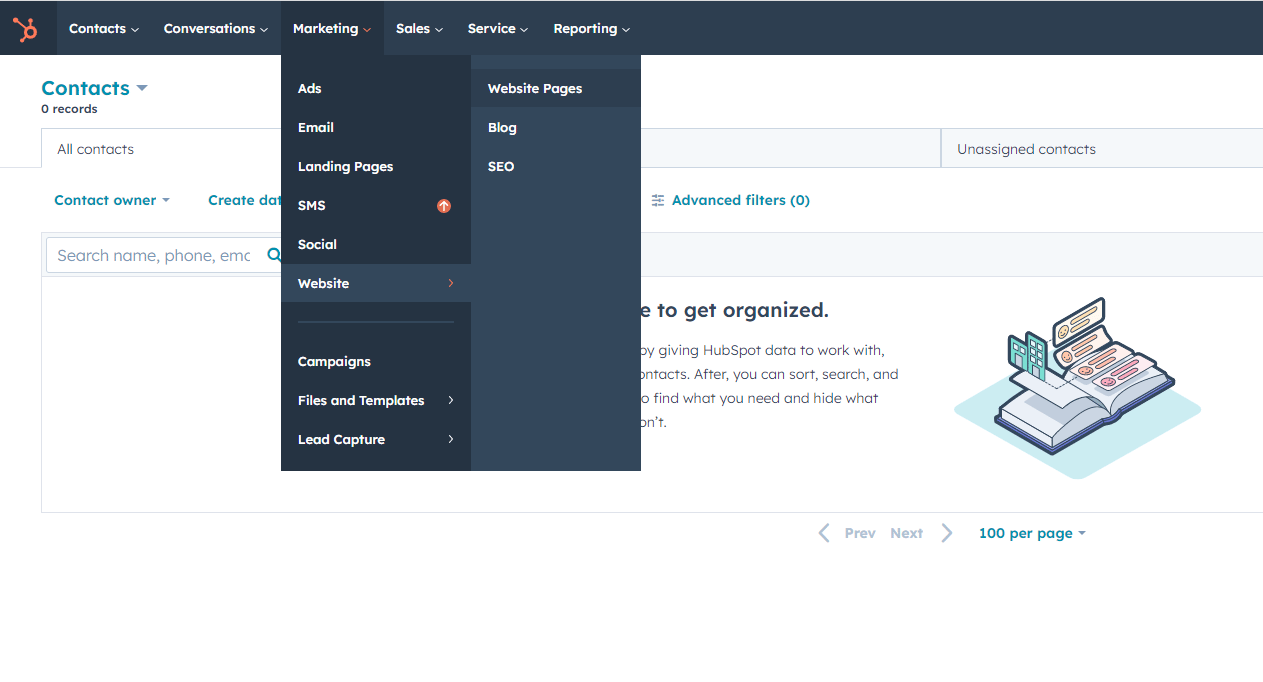
Step 1: To create a new page start by logging into your HubSpot account. Go to Marketing > Website > Select the type of page you want to create. You can choose between Website Pages, Landing Pages, or Blog.
Step 2: Click on Create and then select your WebGuruz Theme followed by choosing what type of page you want to create. You can pick among many options like Home, About Us, Product, Contact, etc.
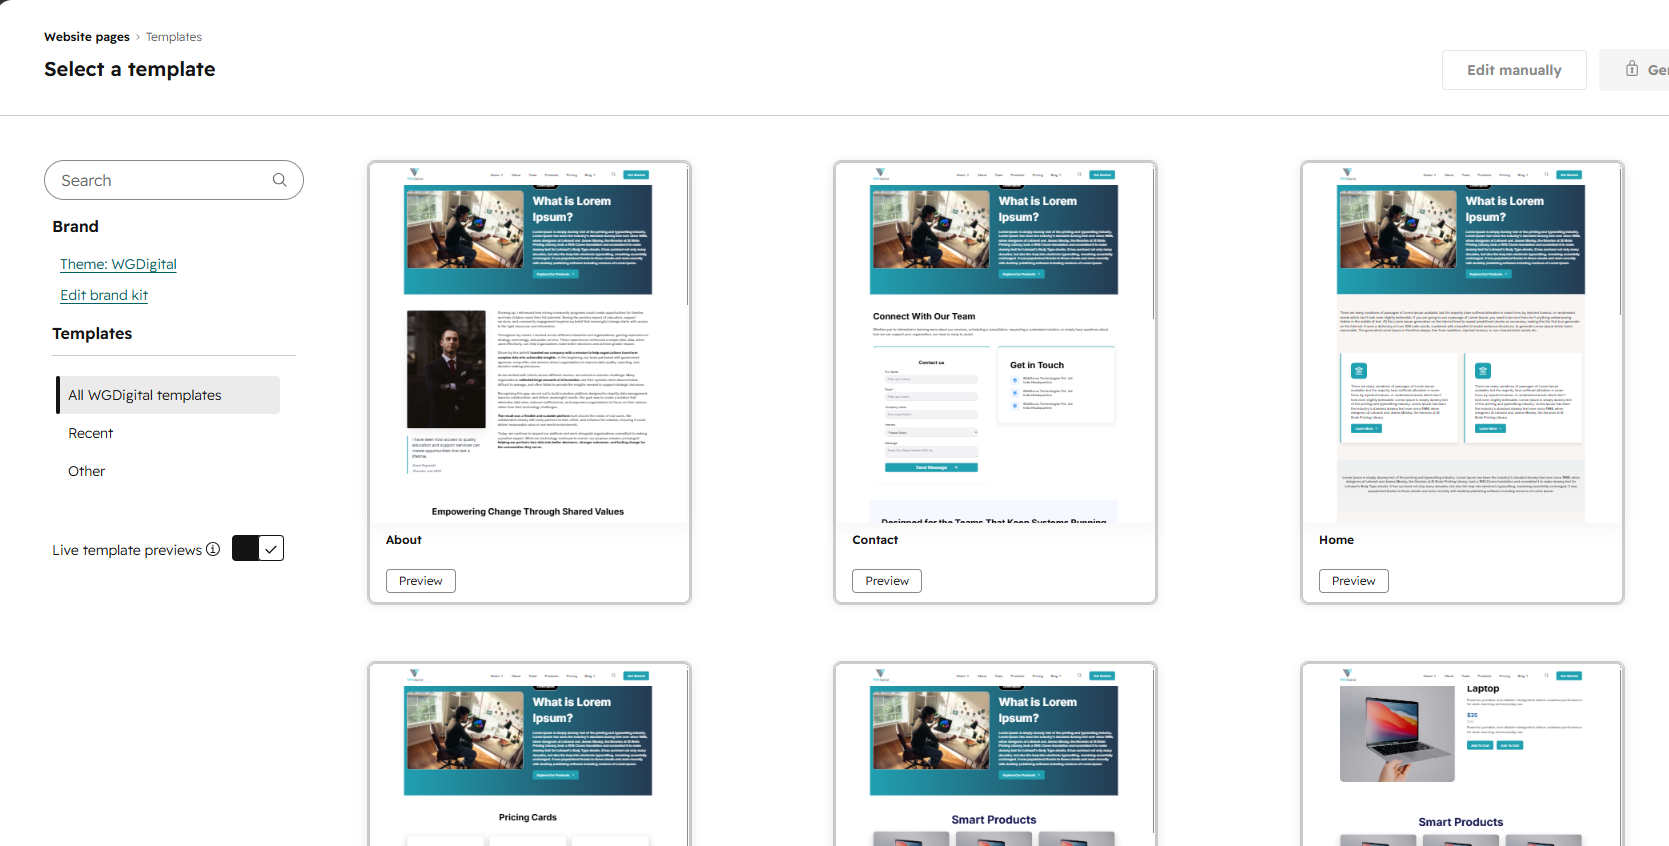
Step 3: Once this has been done enter the Internal Page Name and click on Create Page – your page will be successfully created.
Step 4: You can add or remove modules accordingly, Used multiple time modules or remove accordingly as your design.
Step 5: You can Create Webpage in Multiple languages and also generate Page URL accordingly Selected Languages.
Step 6: You can add external Style to Particular Single Page.
Step 7: You can add Site description in meta description, page title and other necessary information in setting tab and publish the page after getting the changes done.
Changing the Global Styles – Check the Process
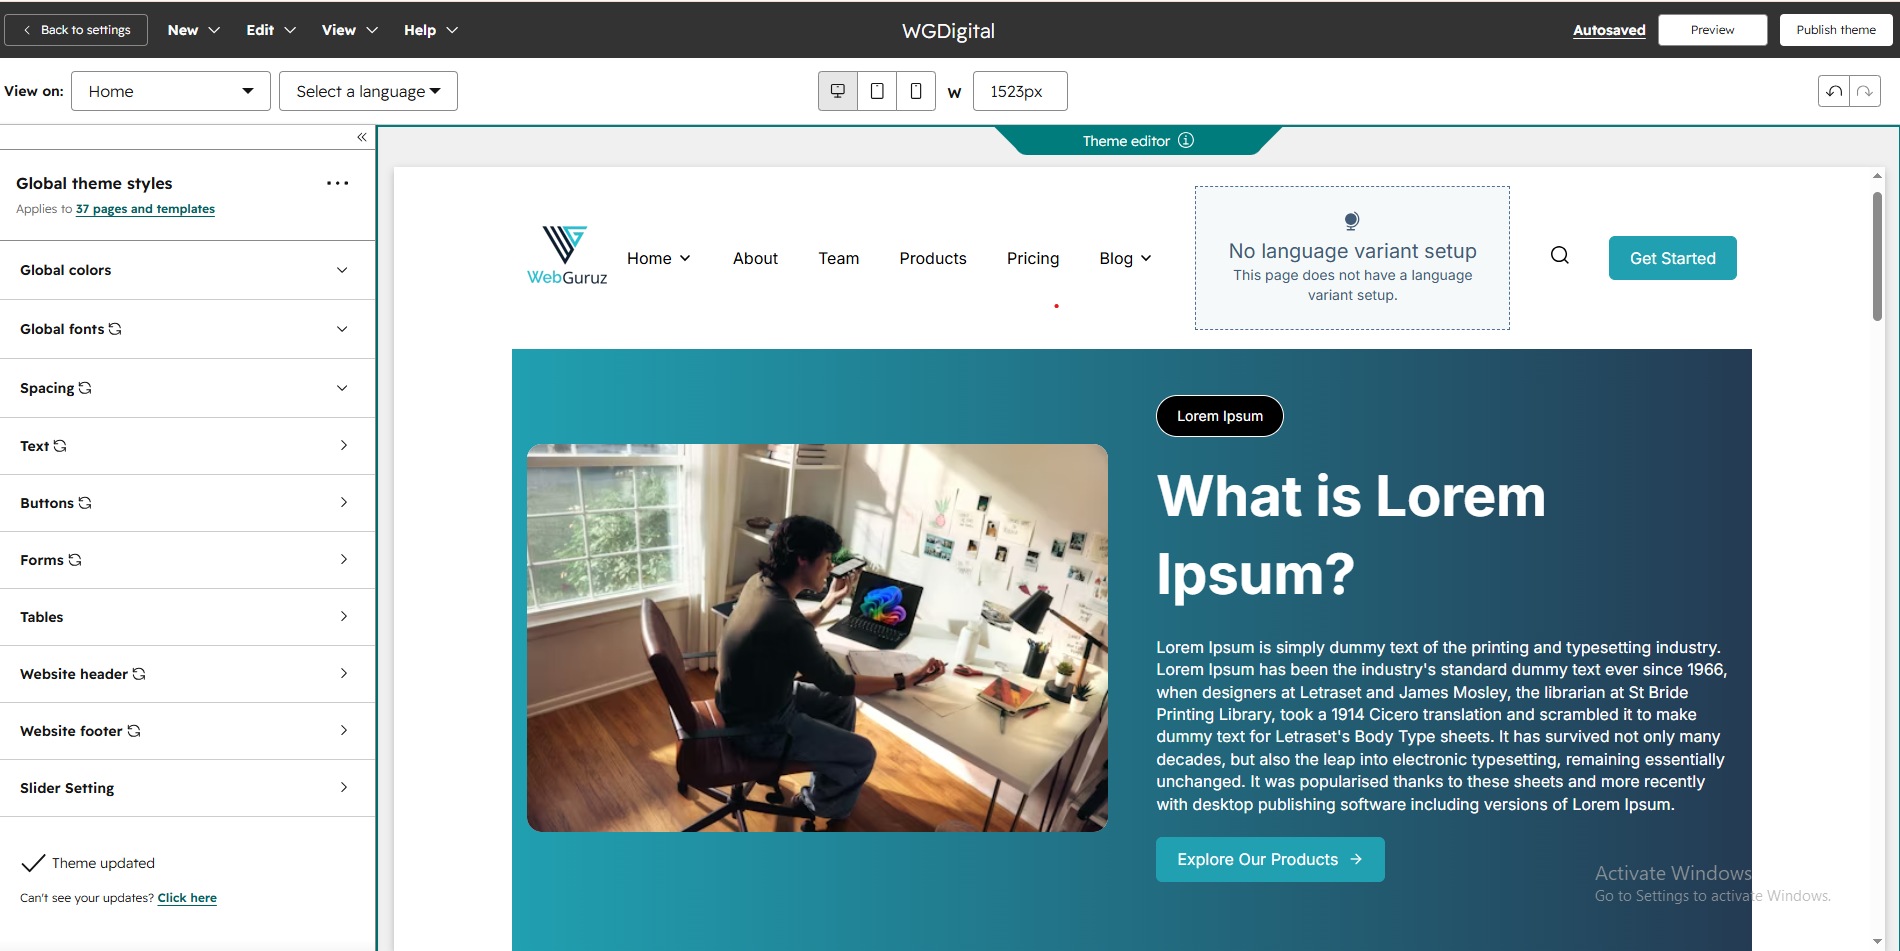
After you successfully create a page, you get an Edit Page Panel on the right side of the screen. In this panel 3 sections are listed named Add, Content, and Design. Click on Design and you’ll see an Edit Theme Settings button there. Click on it and make changes on theme globally.
Once these changes are made the effect will be visible on all the pages and assets of the website.
Here’s what you can change with this:
1. Global Color & Font Setting
1.1 Global Colors
1.2 Global Fonts
2. Layout Setting
2.1 Website Header
2.2 Website Footer
2.3 Spacing
2.4 Typography
2.5 Buttons
2.6 Forms
2.7 Tables
Changing the Blog Template and How!
Blog templates help you set a template for your blog pages. You can set a template for the following:
- Blog listing page
- Blog post page
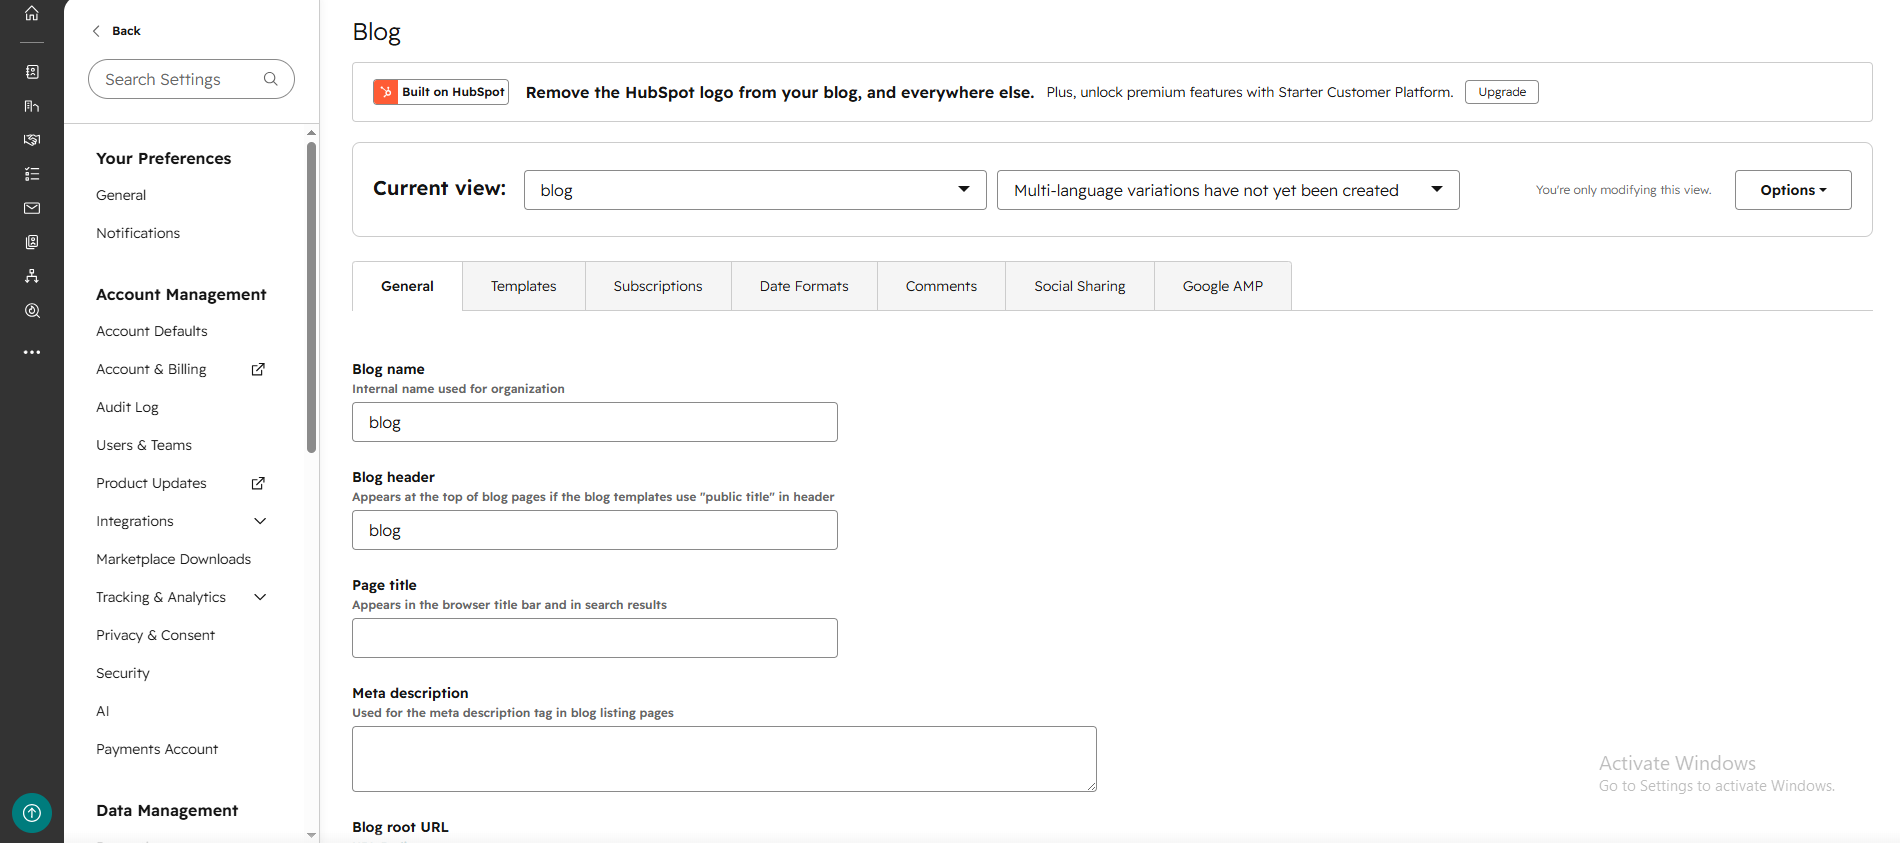
To do this, go to Settings of your HubSpot account, scroll down on the left panel and click on Website Dropdown. Select Blog and click on Current view to see the option to create new blog To be see on page. Here enter the blog header title, blog page title, blog meta description header & footer style. Do not forget to save the changes.
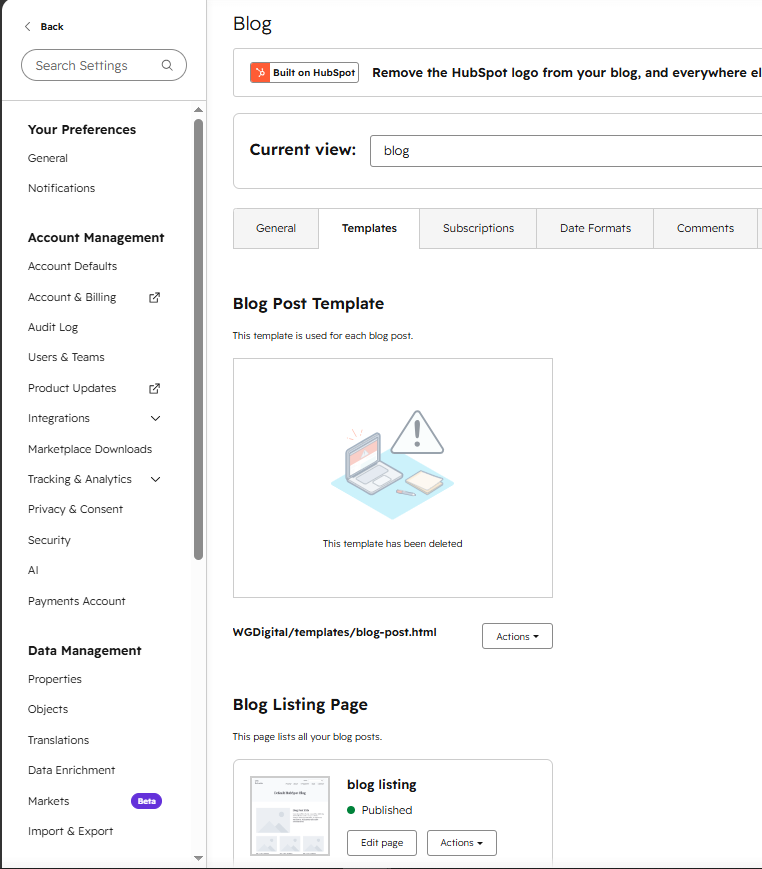
Changing the Blog Template and Blog Post Template How !
To do this, Select Blog and click on Template Tab to see the option to Blog post Template, Click to Action Option then select blog post template, Blog Listing Template, Click to Action Option then select blog Listing template. And enter the number in this input field to show how many blog post display on page. Do not forget to save the changes.
Editing Global Modules – See How That’s Done
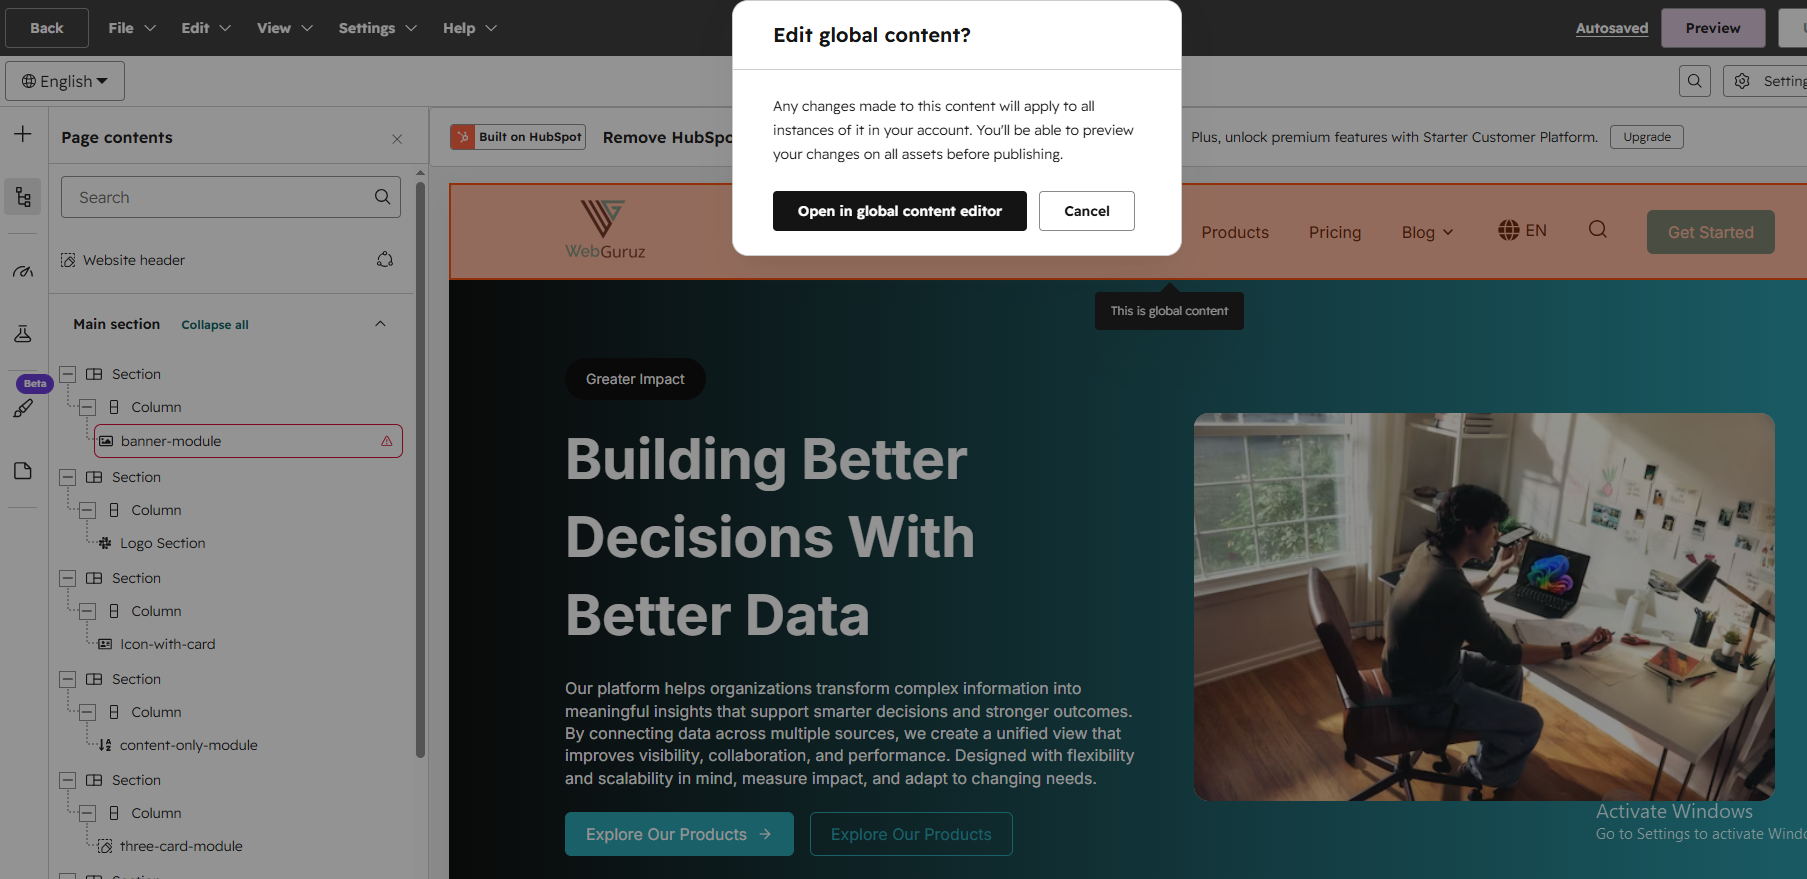
We have created global modules in this theme that are:
- Website Header
- Website Footer
The part of editing these can be done once the page has been successfully created. Once you create a page, you’ll see three sections on the left panel, named Add, Content, and Design. Click on Content – at the top you’ll see the Website Header module and Footer at the bottom, the changes can be made accordingly based on what you’re selecting.
Creating the Systems Page – See How That’s Done
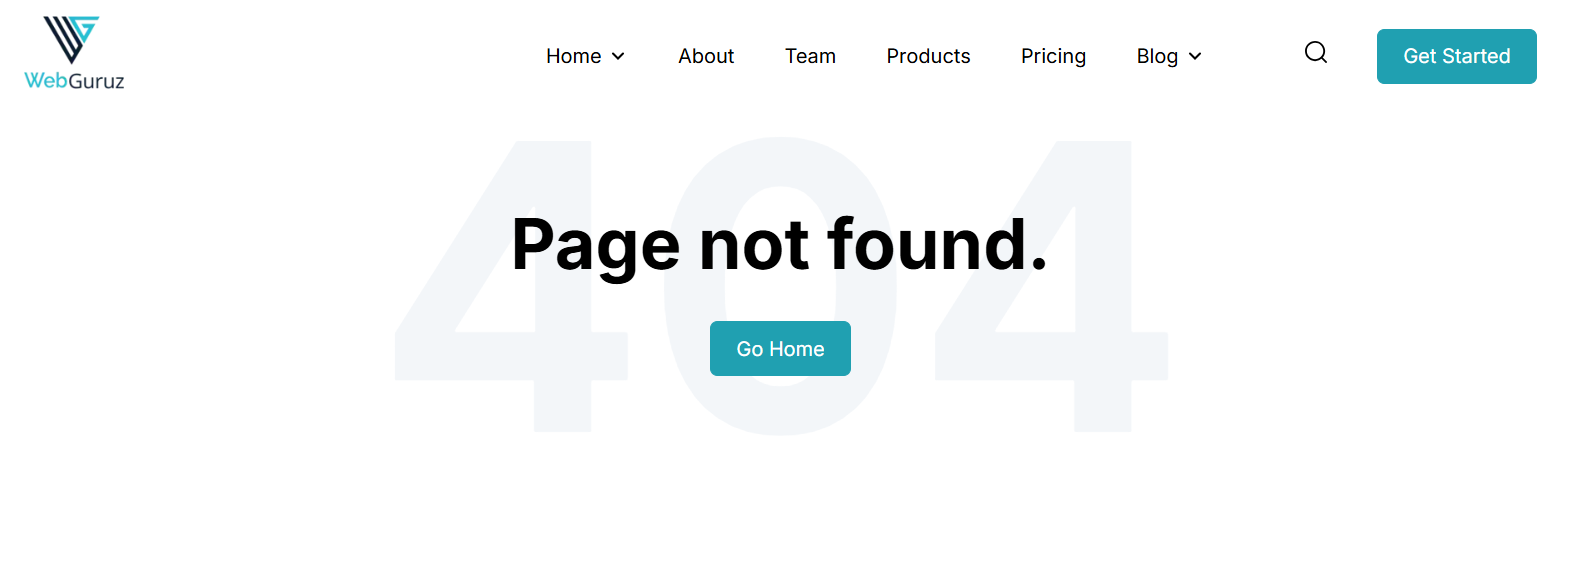
Step 1: Error Pages.
In short, you’ll be able to set them up in Content Settings. Here’s how it works.
404 and 500 error pages are called “System pages,” which HubSpot treats differently when being set up. The process is pretty straightforward and here is how it’s done.
- The gear icon on your HubSpot dashboard can be accessed by clicking the corner.
- Scroll to the bottom of the left-hand sidebar and click this.
- Go to the “System Pages” tab and click it as you mean it.
This page will appear. From your Theme, select the correct “Theme” system pages.
Be sure to save changes. That’s all there is to it!
Step 2: Search Results Page
- You will now be directed to the “System Pages” tab. The search results drop-down can be found by scrolling down.
- Choose “Theme” from the drop-down menu.
- Have it saved!
Requirements
Please ensure that you have a HubSpot account to use this theme. If not, you can visit this link to create a HubSpot account.
Installation
You can either install your theme from HubSpot Asset Marketplace or a .zip file.
From HubSpot Asset Marketplace
If you're installing the theme from HubSpot Asset Marketplace, just click the Install for free button on theme page and then follow the instructions.
From .zip file
If you have a .zip file of your HubSpot CMS theme, please follow the steps below to install it onto your account:
- Login to your HubSpot account.
- On the top right, click the Settings icon (looks like a gear).
- Click Tools > Website > Themes from the left sidebar menu.
- You'll see the Upload Theme button at the top right corner of the screen. Click it and then choose the zip file you've got.
If you completed the steps successfully, you should see the Focus theme and its templates when you're creating a new page.
To learn more about theme installation, please visit HubSpot Reference Docs.
FAQ
Here you can find the answers to frequently asked questions by our customers.
How can I view "Theme Options"?
Navigate to Marketing > Website > Website Pages and choose a page to edit. On Edit page screen, switch to Theme tab and then click Edit theme settings button.
How can I remove the "\" icon under titles?
Go to Theme Options > Other settings > Visual tweaks and uncheck Show slash icon under titles box.
Templates
Please ensure that you have a HubSpot account to use this theme. If not, you can visit this link to create a HubSpot account.
Home
This template has been designed to be used on the homepage of your website. It contains the following sections and modules in order:
- banner-module
- Icon-with-card
- content-only-module
- three-card-module
- Our Mission Module
- Recent Blog
File location: /templates/home.html
About
When you need to provide some information about you and your team, you can use this template. It contains the following sections and modules in order:
- banner-module
- image-with-content
- icon-content-card
- icon-content-card (Same Module but Layout Change)
- accordion
- cta-content-with-buttons-module
File location: /templates/about.html
Product
Showcase your products in a clean, organized catalog with filtering and category options. This template includes sections for featured products, product grids, search, sorting, pagination, promotional banners, and call-to-action modules to help visitors easily browse your offerings.
- banner-module
- smart-product-grid
- simple-content-button
- accordion
File location: /templates/product.html
Our Team
Introduce your team, leadership, and company culture with this template. Highlight your experts, share your mission, introduce key team members, answer common questions, and encourage visitors to connect with your organization. It contains the following sections and modules in order:
- banner-module
- two-column-left-right-position-section
- team
- two-column-left-right-position-section (Layout Change)
- content-only-module
- accordion
- cta-content-with-buttons-module
File location: /templates/team.html
Pricing
Display your pricing plans in a clear and easy-to-compare layout with this template. Highlight plan features, answer common pricing questions, and encourage visitors to choose the right plan with clear call-to-action sections. It contains the following sections and modules in order:
- banner-module
- Pricing
- Logo Section
- accordion
- cta-content-with-buttons-module
File location: /templates/pricing.html
Contact us
You can use this template to create your contact page. It contains the following sections in order:
- banner-module
- two-column-form
- simple-content-button
- accordion
- simple-content-button (Layout Change)
File location: /templates/contact.html
Blog Index
This is the template for your blog. It contains the following module:
- banner-module
- blog listing
- Accordion
- cta-content-with-buttons-module
File location: /templates/blog-index.html
Blog Post
For now, HubSpot does not allow to use drag & drop features in blog post templates. So, sections and modules are embedded into the template and you can't access them via the page editor.
File location: /templates/blog-post.html
Landing Page
This is a general landing page template to collect some information about your visitors via a form and reply a couple of frequently asked questions. It contains the following sections in order:
- LP Banner
- Two Column Landing Page
- Counter Section
- Image Content Accordion
- Testimonial
- Accordion
File location: /templates/landing-page.html
Landing Page 2
Generate high-quality leads with this conversion-focused landing page template. Present your value proposition, highlight key benefits, collect visitor information through a customizable form, address common questions, and encourage users to take the next step with strategic call-to-action sections. It contains the following sections and modules in order:
- LP Banner
- Counter Section
- Image Content Accordion
- lp-card-module
- Testimonial
- Icon With Card
- LP Banner (Layout Change)
- Accordion
File location: /templates/landing-page2.html
Modules
WebGuruz has 33 ready-to-use modules.
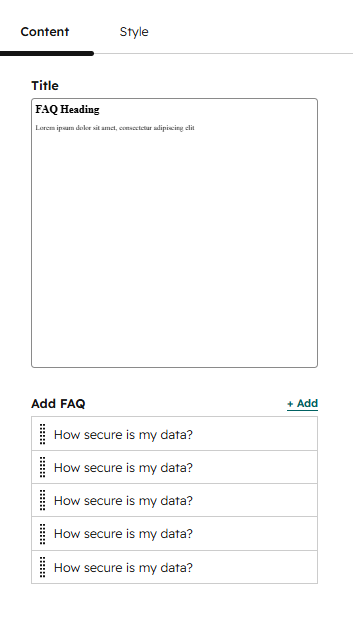
Accordion
You can create questions & answers section with this module. When you click on the title, the box expands and an additional text appears.
Banner Module
You can create engaging hero banners with this module. Add a heading, description, call-to-action button, background image or color, and other customizable content to effectively highlight your key message and encourage visitors to take action.
Blog listing
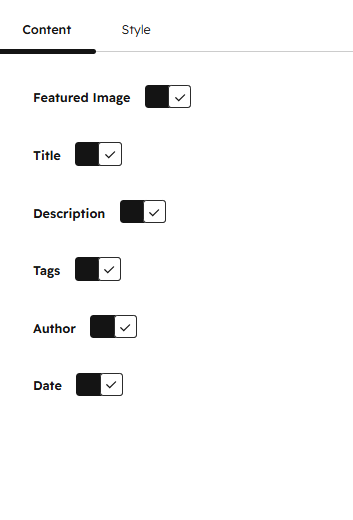
You can list your blog posts in various layouts.
Button Repeater
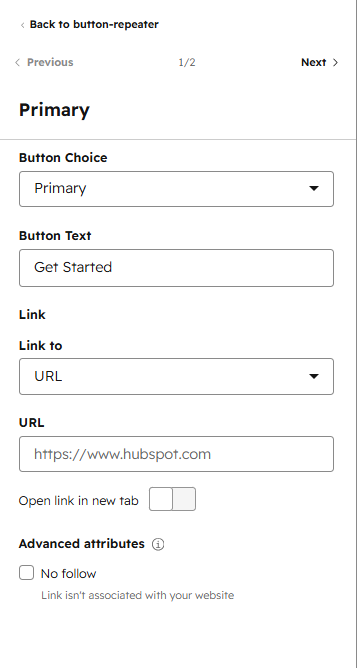
You can create multiple call-to-action buttons with this module. Add button labels, links, and style options to display one or more buttons that direct visitors to important pages or resources.
Content Only Module
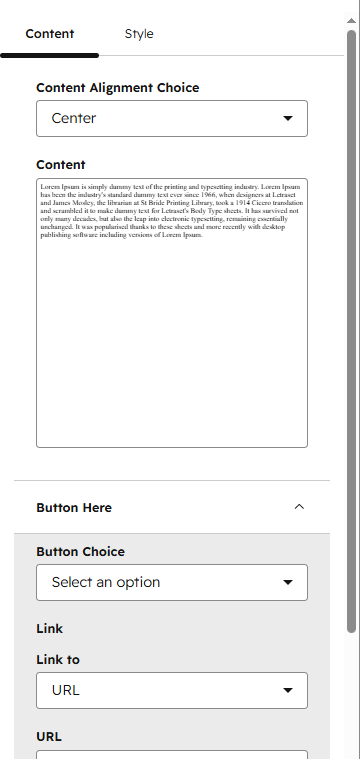
You can create content sections with customizable text and call-to-action buttons using this module. Display rich text content alongside one or more CTAs to provide information and guide visitors to important pages or actions.
Counter Section
Display animated counters to showcase key numbers, statistics, or achievements.
Custom Header
Create a customizable website header with navigation, logo, buttons, and branding elements for a consistent user experience.
Icon Content Card
Display content with icons, headings, and descriptions to highlight key features, services, or benefits in a visually engaging layout.
Icon With Card
Display icons with customizable cards to highlight features, services, or key information in a clean and engaging layout.
Image Content Accordion
Organize your content with interactive accordion panels while displaying supporting images to improve readability and engagement.
Image With Content
Combine images with rich content to create visually engaging sections that effectively highlight your message, products, or services.
Language Switcher Web
Allow visitors to switch between multiple website languages with an easy-to-use language selector.
Logo Section
Create a scrolling logo carousel to display brand partnerships, customer logos, or featured companies.
Lp Card Module
Display information in customizable cards with images, headings, descriptions, and call-to-action buttons to highlight key features or offerings.
Our Mission Module
Display your mission statement with an icon, heading, and rich content to highlight your brand purpose and values.
Pagination Web
Add pagination controls to blog listings for smooth navigation across multiple pages.
Pricing
Display pricing plans using customizable cards with features, pricing, and CTA options.
Product Detail
Display detailed product information with customizable sections for product images, descriptions, features, specifications, and CTA options.
Product Slider
Highlight featured products through a responsive and interactive slider.
Recent Blog
Display the latest blog posts in an organized layout with featured images, titles, summaries, and links to help visitors explore fresh content.
Smart Product Grid
Showcase products in a smart grid layout with customizable product cards, images, details, and CTA options for an optimized browsing experience.
Team
Showcase your team members with profile images, names, roles, descriptions, and social links to build trust and highlight your organization.
Testimonial
Display customer testimonials in an engaging slider format.
Three Card Module
Present key information, services, or features using three customizable cards with images, content, and CTA options for a structured visual layout.
Two Column Landing Page
Build a flexible two-column layout with content and visual elements.
Two Column Form
Create a structured form layout with two customizable columns, allowing you to combine form fields with supporting content, images, or CTA elements.
Two Column Left Right Position Section
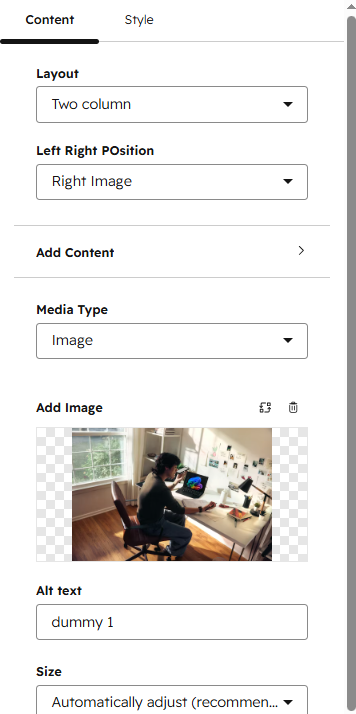
Build a customizable two-column layout with flexible content alignment and positioning.
Two Column Section
Display content in a flexible two-column layout with customizable elements.